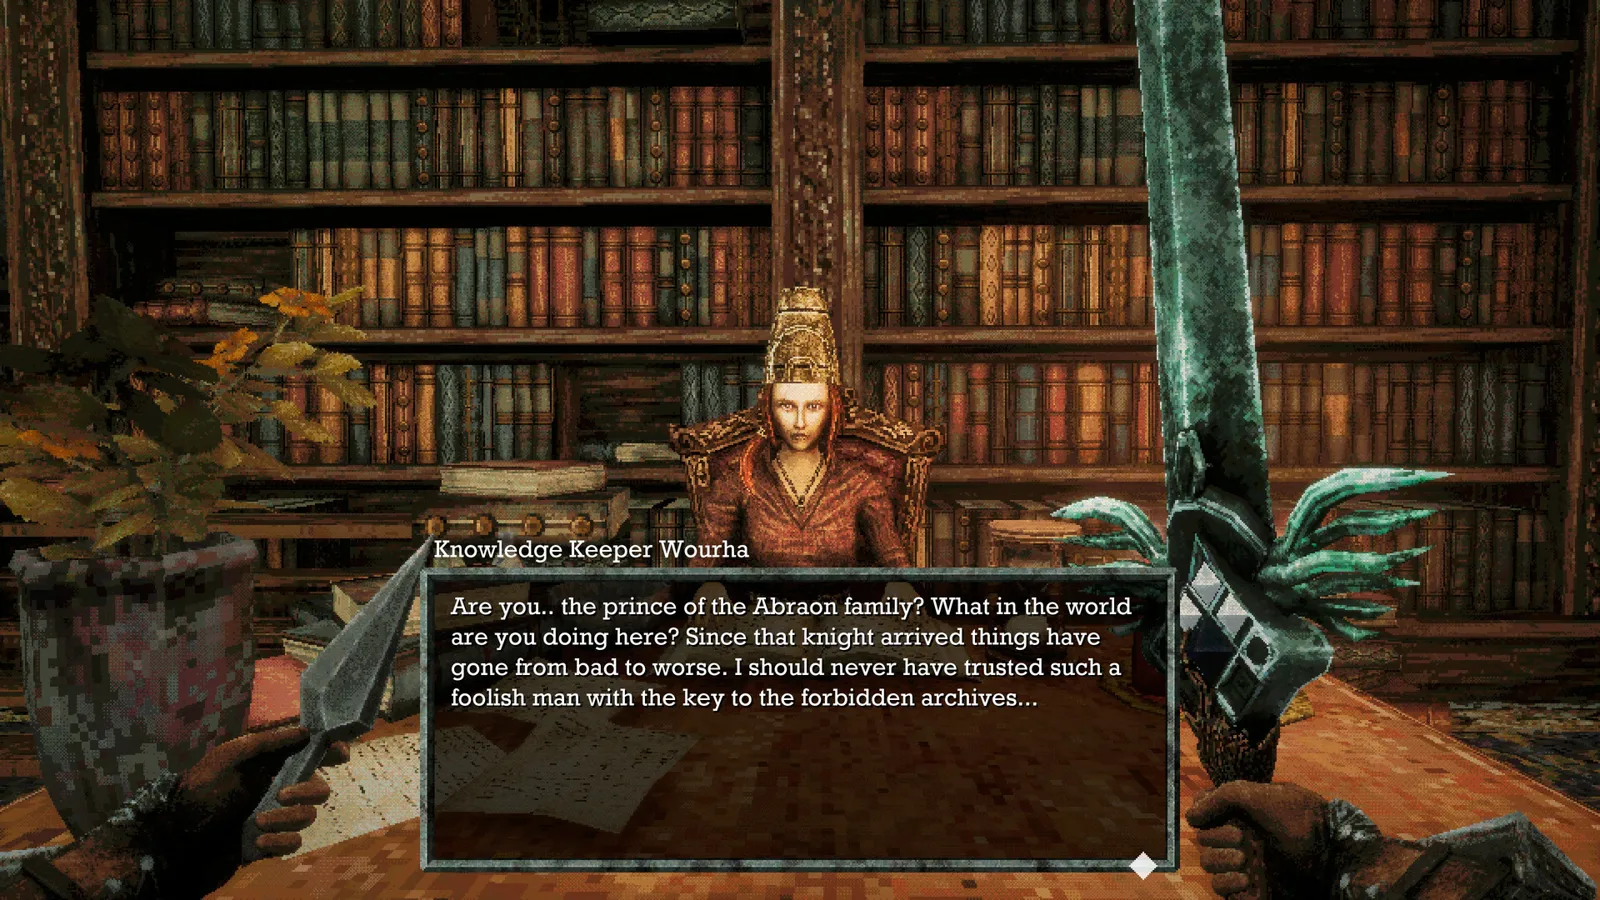
To leave the Tower of Knowledge basement, follow the cavern loop down to the final treasure area and take the nearby elevator upward. A chest at the top contains three Occult Knives. Pull the lever there to open the grate back toward the foyer rather than trying to climb out through the trapdoor.
Identify the basement entrance
After the Skeletal Executioner, save at the newly accessible monument and explore the lower library floors. The route through the Book Bugs and adjoining rooms eventually reaches the trapdoor. ShowGamer describes Excavator’s Note I on a book cart to the right before the drop.
Read the layout before jumping. The descent commits you to a longer loop through enemies, so make a manual save and bring healing first. The trapdoor is also a useful landmark later for the Wind Rapier’s hidden room, but that room is reached after an entirely different exterior-lever detour.
Gargoyle and Candle Crawler passage
Below the trapdoor is a Gargoyle Warrior statue. The published route uses an Azure Torch fireball to activate it, then continues toward the candles and the passage beyond. Leave yourself space for the fight instead of advancing into the next enemy while the Gargoyle is active.
Candle Crawlers launch homing fireballs. Put a wall or another solid obstacle between you and an incoming projectile while keeping track of the enemy itself. Standing at the edge of a corridor without breaking the projectile’s path can leave the fireball following your retreat.
The left branch leads through more Crawlers to a pedestal with a Large Elixer and Excavator’s Note II. Return toward the trapdoor area afterward; that branch is a supply detour rather than the elevator exit.
Follow the northeast descending route
From the area beneath the trapdoor, take the descending tunnel toward the northeast. ShowGamer describes three Gargoyle statues ahead, including two Gargoyle Arbelists. Handle the ranged threats without letting both fire freely while you fight something else.
Farther along are Cultic Book Bugs, recognizable as floating green enemies with ranged magic. Advance in short sections and use the passage geometry to reduce simultaneous attacks. When the loop reaches a downward ramp into the final basement section, avoid running straight into the gathered enemies.
The chest near the end contains the Tourmaline Eye Charm. ShowGamer lists Disease Resistance as its role. This guide does not treat that charm as Poison immunity: those are different status conditions.
Elevator, Occult Knives and foyer lever
Take the elevator near the final treasure area. Open the chest at its upper landing for three Occult Knives, described as homing throwing weapons. This is the throwing-weapon pickup associated with the basement loop, rather than the Occult Spear chest behind library shelves.
Pull the nearby lever to open the grate back to the foyer. You now have a return connection to the lower tower and its monument. Save the newly collected equipment before continuing the main tower ascent.
If you keep circling below without finding an exit, revisit the descending end of the loop rather than searching only directly underneath the trapdoor. The exit is an elevator connection followed by a grate lever, not a replacement key for the basement entrance.
Sources and scope
The detailed cavern sequence follows ShowGamer’s tower walkthrough. Whisper of the House’s tower overview provides the broader progression context, not an independent confirmation of every chest. Reviewed November 5, 2026; this is a route guide, not an exhaustive basement collectible checklist.