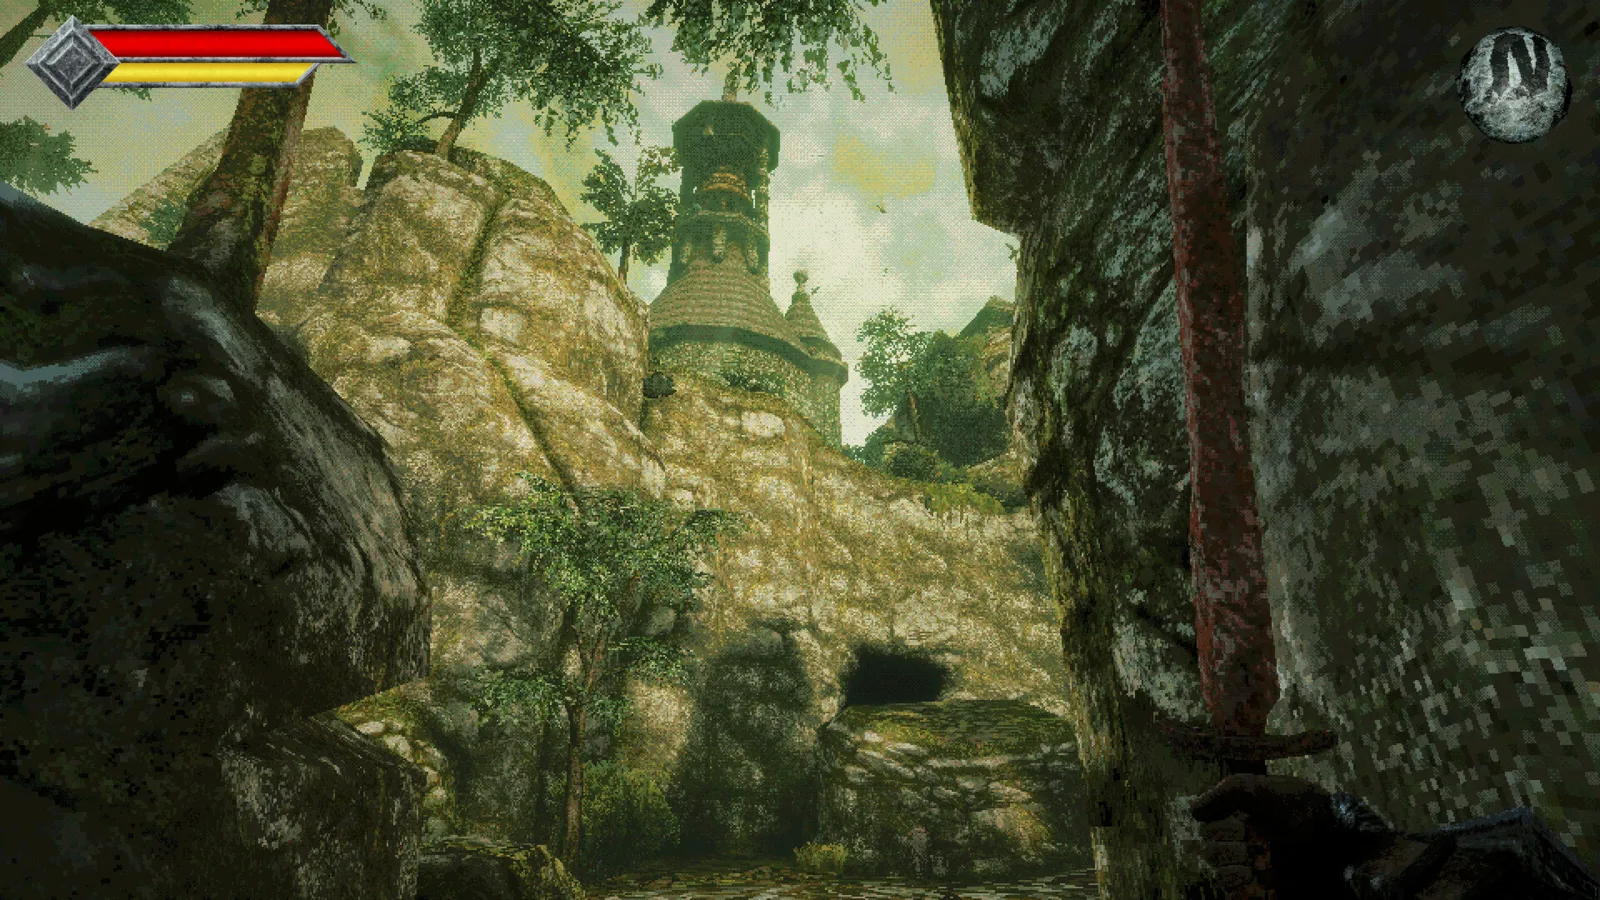
Follow the opening Crypt to the Endu Shrine, collect the Holy Sword, get the Azure Torch and a second Wind Gem, then cross toward Obmuer Temple. Clear the temple and light the third beacon before returning to the Tower of Knowledge. This walkthrough covers that early-to-mid-game route, not every ending.
Shore, camp and the Crypt
Establish your first manual save at the Crystal Monument beyond the camp barricade. Collect the Dagger Belt on the coastal islands and equip it. A throwing dagger activates the diamond-shaped switch near the Crypt entrance, allowing you into the underground route.
Descend to the room holding the Endu Shrine Gate Key and collect the named item. The nearby Wooden Club and optional Pandora Blade can expand your early equipment. Use the detailed shrine-key route if you cannot distinguish the lower key chamber from the rooms above it.
Shrine and movement unlock
Return to the coast and open the fenced Endu Shrine. Defeat the Shrine Guardian, interact with its body for the Stone Duck Figurine and collect Holy Sword Endu from the shrine beyond. These are separate actions after the fight.
Save both pickups before exploring a new region. Endu grants the initial Wind Dash, while the figurine relates to Umbada’s shop access. Your immediate objective is now movement and the eastern torch route, rather than repeatedly checking every large locked door near camp.
Torch, gems and the western bridge
Take the eastern approach toward the Tower of Knowledge and collect the Azure Torch from the gargoyle. The tower remains sealed at this stage. Return to the upper opening-island paths for the second Wind Gem and the two accessible outdoor beacons.
Two consecutive dashes let you cross the western broken bridge. Use the Wind Gems guide for the upper-island landmark route and the beacon guide for the torch objectives. Do not confuse the three outdoor beacons with the numbered gargoyles later inside the tower.
Obmuer Temple
Gather the four Triangular Slates in the flooded ruins and use them at the temple entrance. Inside, Trident Keys operate a different set of locks. Find the third Wind Gem, open the main route and defeat the three Royal Orbewa Guards to reach Dagoom the Sea King.
After the boss, collect the reward and follow the exit route to the third outdoor beacon. Light it with the Azure Torch. You now have the missing condition for returning to the Tower of Knowledge entrance.
Tower and the Archives
Inside the tower, establish a save after the opening encounter. Ascend through the library and solve the numbered gargoyle puzzle using statues III and VII. Continue toward the upper staircase and the Storm Gem.
The route continues below the gem platform: reach the lower switch, rotate the staircase and use the elevator route to Budaen. Obtain the Forbidden Archives Key before attempting the Archives door and the Necronomicon encounter. For the connected indoor sequence, use the tower route.
Sources and scope
Reviewed November 5, 2026 against 9Puz’s opening walkthrough, Whisper of the House’s progression guide and its Tower of Knowledge route. Later regions, all collectibles and ending conditions are outside this walkthrough.