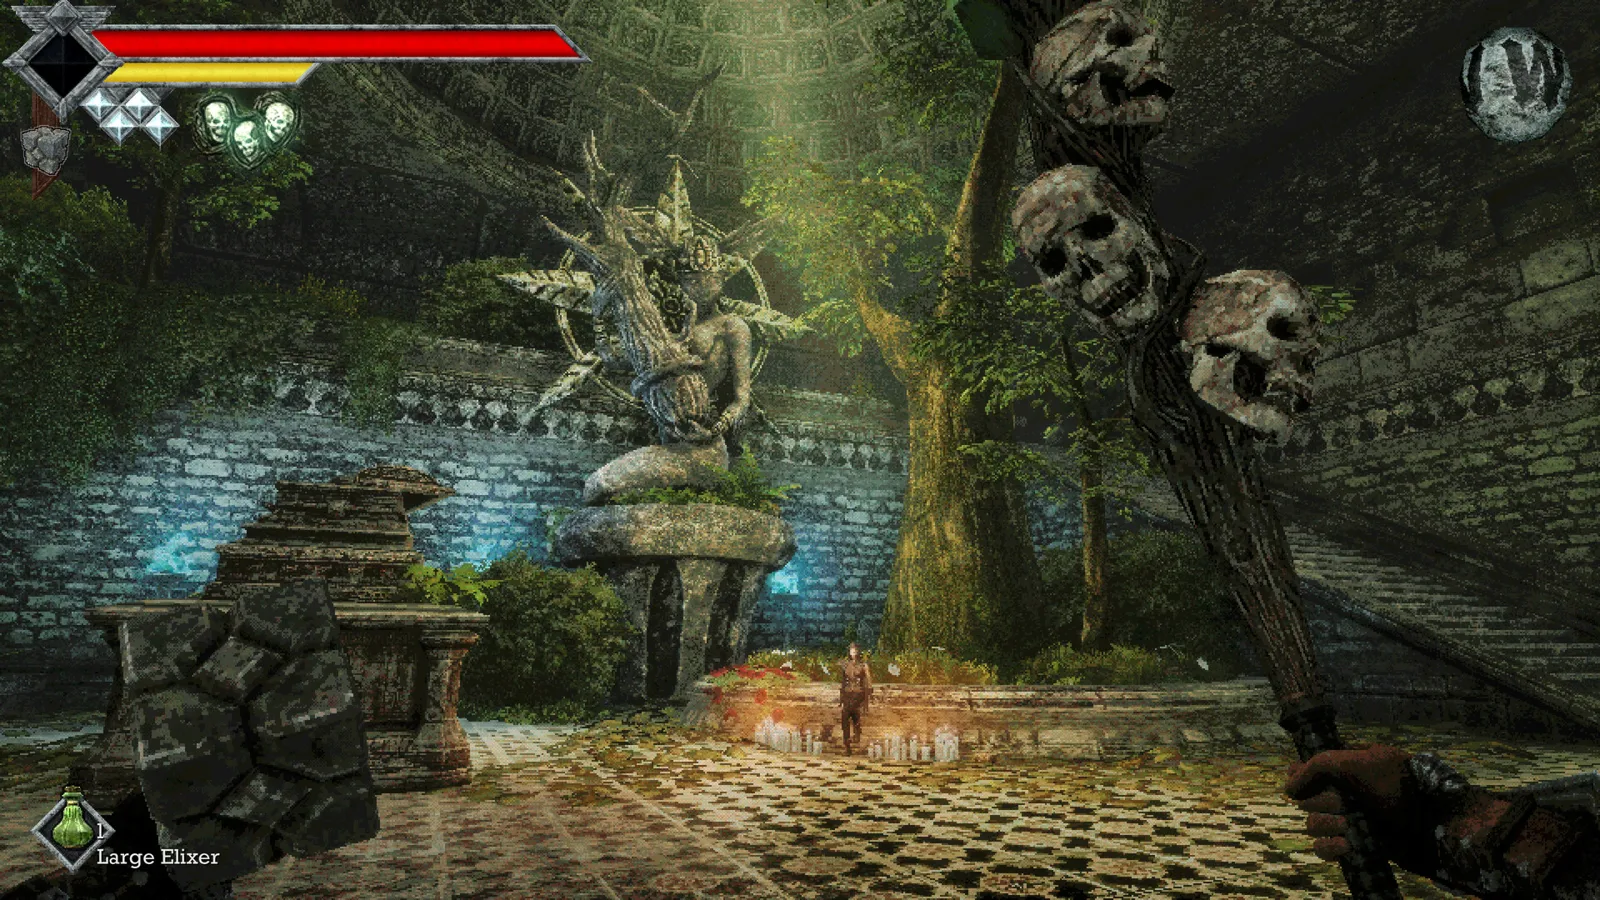
Reach Obmuer Temple by crossing the western broken bridge with two Wind Dashes. Collect four Triangular Slates in the flooded ruins to open the entrance. Inside, Trident Keys, the third Wind Gem and three Royal Orbewa Guard fights lead toward Dagoom the Sea King.
Before crossing west
You need Endu and the second Wind Gem for the intended bridge crossing. Get the Azure Torch and activate the accessible outdoor beacons during the opening-island loop. Save before entering the flooded region, then use Aganmi’s Camp as a recognizable point on the approach.
The first three Wind Gems guide explains the early movement progression. The number of dash charges matters more here than the sword’s weapon level. Wait for charges to recover before attempting a long crossing over water.
Open the four-slate entrance
The four Triangular Slates are in the flooded western ruins. Published routes place them by the raised stones near the red-fish pool, in the elevated ruins, in a lower western section near the Trident ledge and on an isolated broken column reached by dashing.
Explore both the lower water-level paths and the raised structures rather than searching only around the sealed door. Return with all four slates and use the temple’s entrance sockets. The Trident Keys found later are not substitutes for missing entrance slates.
Interior keys and the third gem
An early flooded cavern contains the Sapphire Trident Key in a wall. Use it on the single-key route gate rather than assuming the nearby three-slot treasure gate is mandatory. See Trident Keys for the difference between the main route and optional return trips.
At the large pit beside the second interior monument, look down for the pair of circular passages. The left opening leads into the lower route. Continue through the staircase encounter and Emerald-key landmark to reach the third Wind Gem, which supports the longer crossing deeper in the temple.
Clear the Royal Guards
The door toward Dagoom remains sealed until you defeat the three Royal Orbewa Guard encounters. Their routes branch through the temple, so a closed ring door is a reason to check unfinished paths rather than spend another set of keys on an unrelated treasure lock.
Prepare a varied melee loadout and save useful consumables for the boss afterward. Do not assume the same weapon is ideal for every guard just because they share a title. Compare the in-game bestiary and the weapon guide when a fight feels unusually resistant.
Dagoom and the final beacon
After all three guard fights, save before dropping into the lower boss arena. Dagoom’s fight involves water hazards, poison and additional enemies. The Sea King guide focuses on managing that arena rather than racing damage.
Collect the post-boss rewards and follow the temple exit toward the third outdoor gargoyle beacon. Light it with the Azure Torch. Once all three bells have rung, return to the Tower of Knowledge to continue the connected walkthrough.
Sources and scope
Reviewed November 5, 2026 against ShowGamer’s temple walkthrough and the published Obmuer route. This covers the main progression sequence, not every chest, optional gate or collectible.