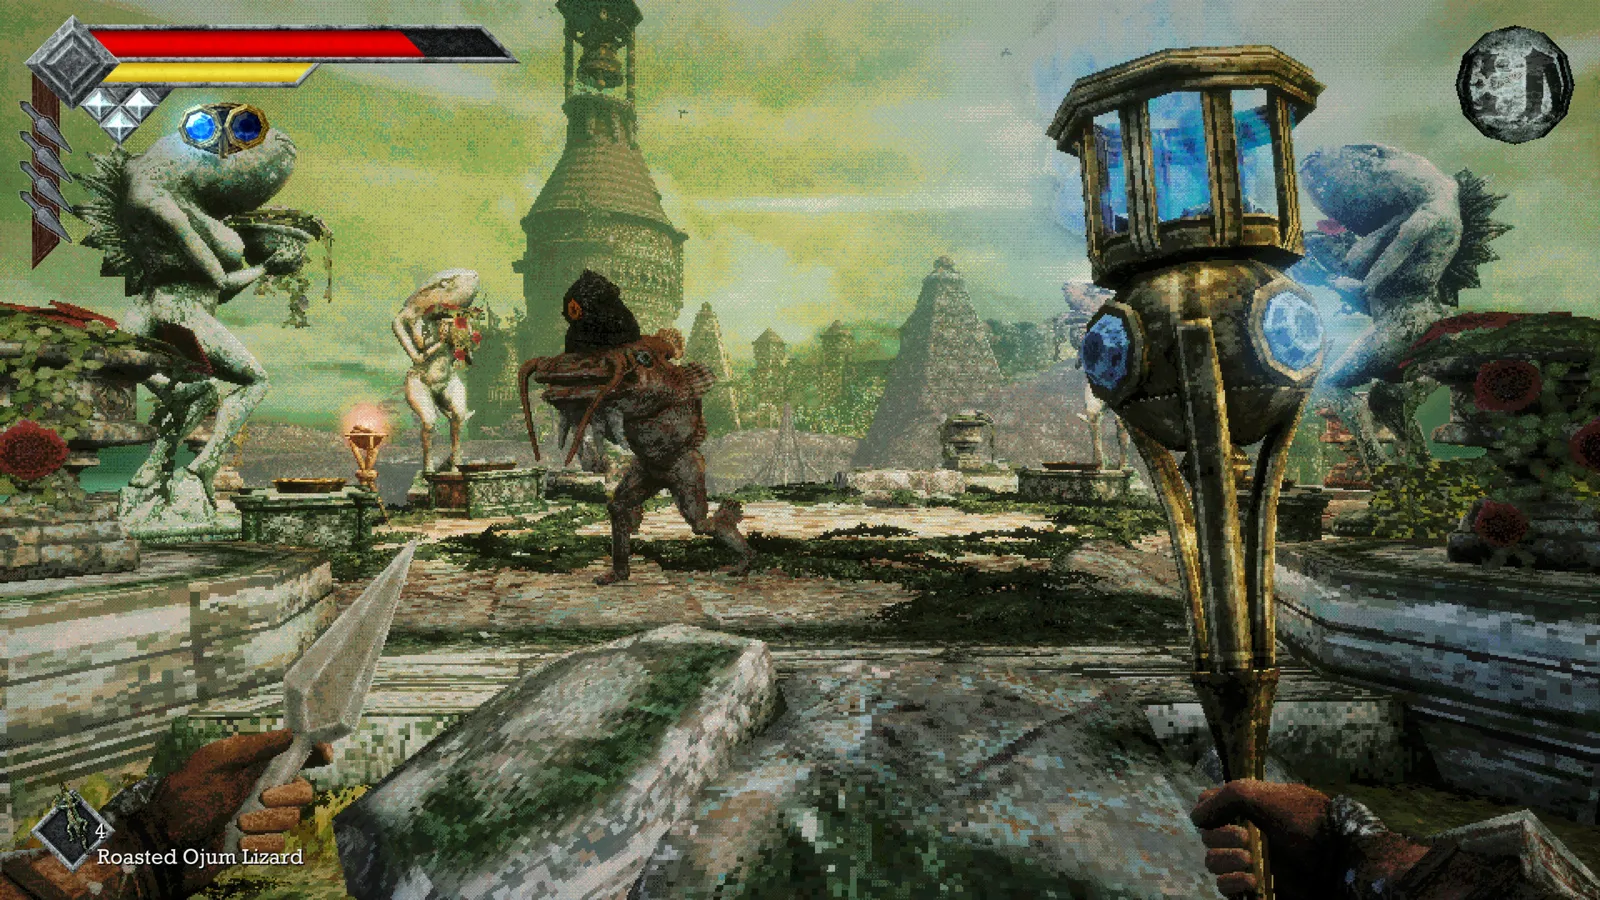
Save manually, give the Power Meter time to recover and equip new items through the status menu. Those three habits prevent many early problems in Queen’s Domain. Your first exploration goals are the Dagger Belt, the Crypt’s shrine key and Holy Sword Endu.
Save before a long detour
The first Crystal Monument sits beyond the starting camp’s barricade. Use its Save choice to record your progress. Rest is a separate action for recovery, with enemy respawns to account for afterward.
Build a short loop around the monument while you learn the coast. After a useful pickup, returning to save can be quicker than repeating the same expedition after death. The saving guide explains why seeing a monument or entering a room is not an automatic checkpoint.
Read the Power Meter
Repeated melee attacks with an empty meter do little damage. Pause between swings, observe the enemy’s commitment and attack when you have enough power to make the opening count. A higher item rating does not fix an attack that is poorly timed.
Holding an attack charges it, but remaining in a charge can restrict other actions. Release it when you need to reposition, throw a weapon or react to an incoming attack. Try the timing against an isolated early enemy before testing it in a crowded room or boss arena.
Equip what you collect
Picking up an item is not the same as having it ready. Use the equipment interface to assign a melee weapon, throwing weapon or accessory. Put healing items into a usable quick slot so you are not learning the menu during a dangerous exchange.
The game allows three melee weapons, which creates room for different damage types and useful special moves. A sword, spear and club offer a more flexible starting selection than three similar slash weapons. Read the weapon guide before replacing every slot with the newest pickup.
Get the Dagger Belt early
The belt is on the coastal island route near the opening region. Equipping it gives you a ranged option for wall-mounted enemies and the diamond switches outside the Crypt. Let charges refill when the indicators are empty; that is not the same as needing to gather a new stack of ammunition.
Use the shrine-key route once you have the daggers. It leads through the Crypt to the named key and then back toward the first boss. The optional Pandora Blade room is a detour beside that required key chamber.
Use Endu to revisit old routes
The Shrine Guardian leads to Endu and Wind Dash. Once you have it, the island’s height changes meaning: ledges and bridges that were previously out of reach become possible routes. Look for a movement prerequisite before deciding that every visible gap must already be crossable.
Continue toward the Azure Torch and the early Wind Gems. Save before attempting an unfamiliar crossing and watch your available dash charges. If your usual attack stops working, check the status effects guide before blaming the controls.
Sources and scope
Reviewed November 5, 2026 against IndieTome’s starting mechanics, GGG Wiki’s gameplay guide and the published beginner reference. These are PC full-game fundamentals; exact bindings can differ.