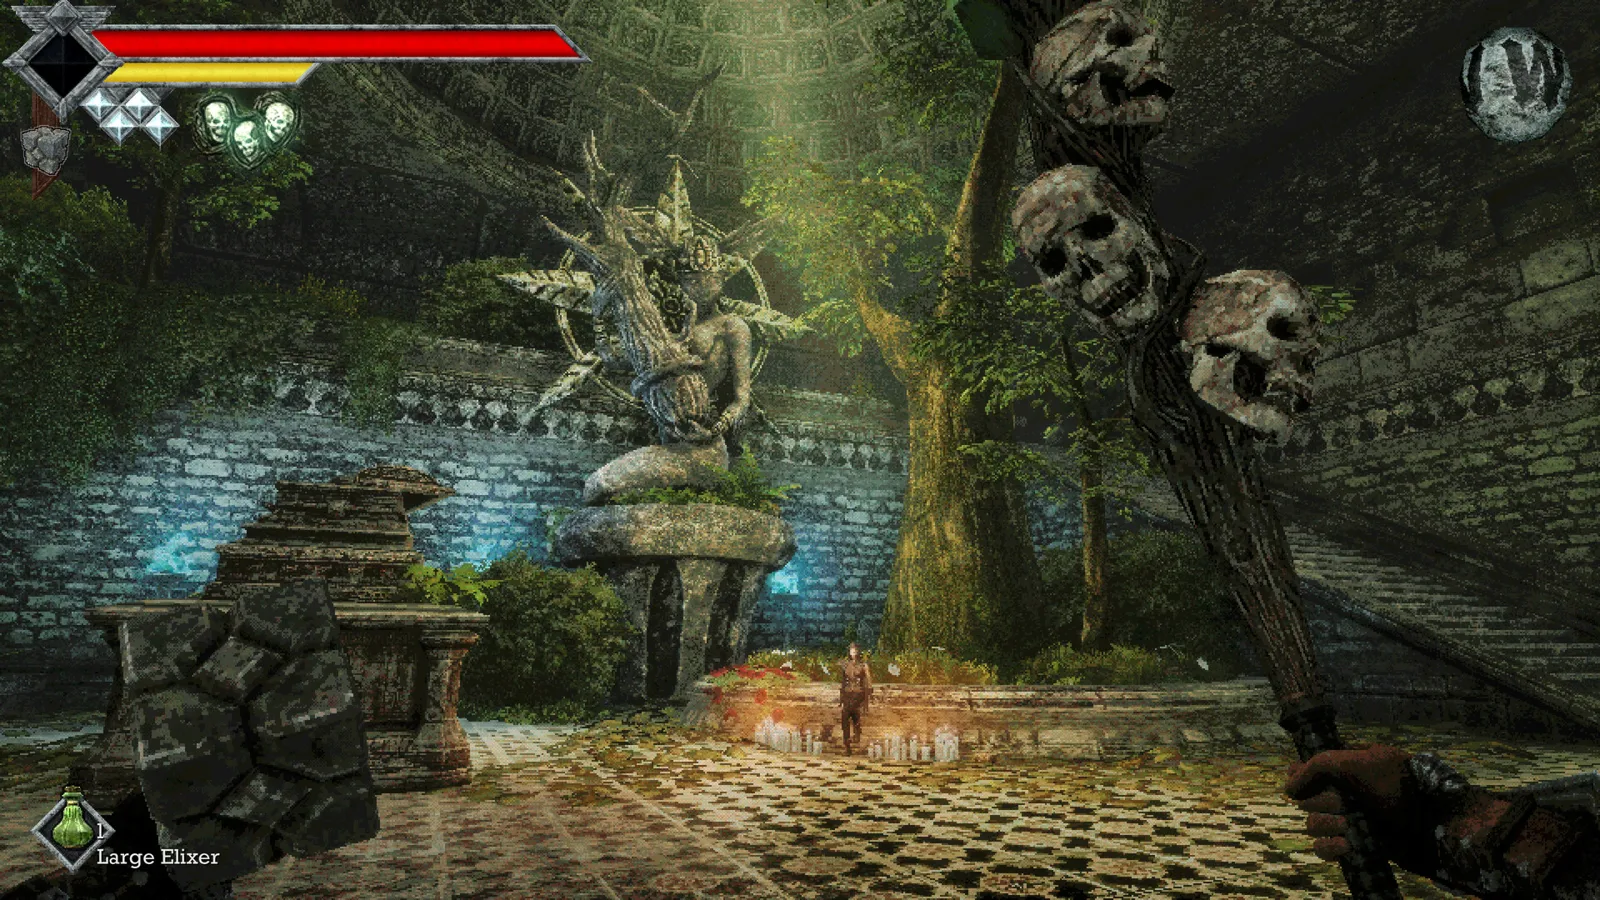
At Obmuer Temple’s Sacred Cistern, use three Wind Dashes to cross the large gap and put a Trident Key into the right-hand socket. Watch the moving pillar to your right: enter the side opening as it descends, collect the Amethyst Tear Charm and ride the rising pillar back up. Retrieve your key afterward.
Reach the Sacred Cistern with the right items
This route begins after the temple’s third Wind Gem and Emerald-key gate. If you are still outside gathering Triangular Slates, follow the main Obmuer route first. The entrance slate pieces do not operate the interior pillar mechanism.
Save at the Sacred Cistern Crystal Monument. The nearby shortcuts let you retrieve the Sapphire and Emerald keys from earlier locks, so keep track of where you inserted each one. The Trident Key guide explains that reuse; a key left in an earlier mechanism is not necessarily permanently spent.
The third Wind Gem is important because the large cistern crossing uses three consecutive dashes. Let your charges recover on stable ground before committing to the far side.
Choose the right-hand socket
After crossing, the published route describes two switches. The right one accepts a Trident Key; the left needs another item you do not yet have. Use the right-hand mechanism for this detour rather than delaying the main route to solve both at once.
Insert a key, turn right and look down toward the pillar that rises and sinks into the water. Observe a complete movement cycle before jumping. You need the opening beside the moving pillar, not a ride down into the water on its top.
Enter beside the descending pillar
Wait for the pillar to descend far enough to expose the adjacent opening. Jump into that opening and inspect the chest inside. It contains the Amethyst Tear Charm, which the published walkthrough lists as granting 50% Poison Resistance.
For the return, wait until the pillar rises and board it to regain the upper route. This is the opposite movement from the entry step: descend to expose the side opening, then use the upward journey to leave.
Poison Resistance is not the same as Poison immunity or an immediate cure. Keep appropriate supplies for existing conditions and use the status-effect reference to distinguish Poison from Disease and other debuffs. Finding the charm does not make standing in a damaging cloud safe indefinitely.
Retrieve the key and follow the central passage
Once back up, recover your Trident Key and continue through the central passage. The Azure Torch can help with the darker section. Do not leave the key behind merely because the optional chest is already open; later rooms still use the reusable keys.
The next route contains skeletons and fish enemies. ShowGamer identifies a skeleton pointing upward and right at the end of the first room. Climb the rubble behind it and dash onto the upper ledge for a chest containing four Piercing Needles.
Return to the main route and continue toward the staircase and daylight-lit hallway to the east. The Prison Corridor Crystal Monument is the next save anchor. From there, the three Royal Orbewa Guards become the important progression encounters.
Sources and scope
Reviewed November 5, 2026 against ShowGamer’s Sacred Cistern walkthrough and the temple route reference. This is the pillar/charm and onward passage route; it does not assign an unsupported item to the left-hand socket.