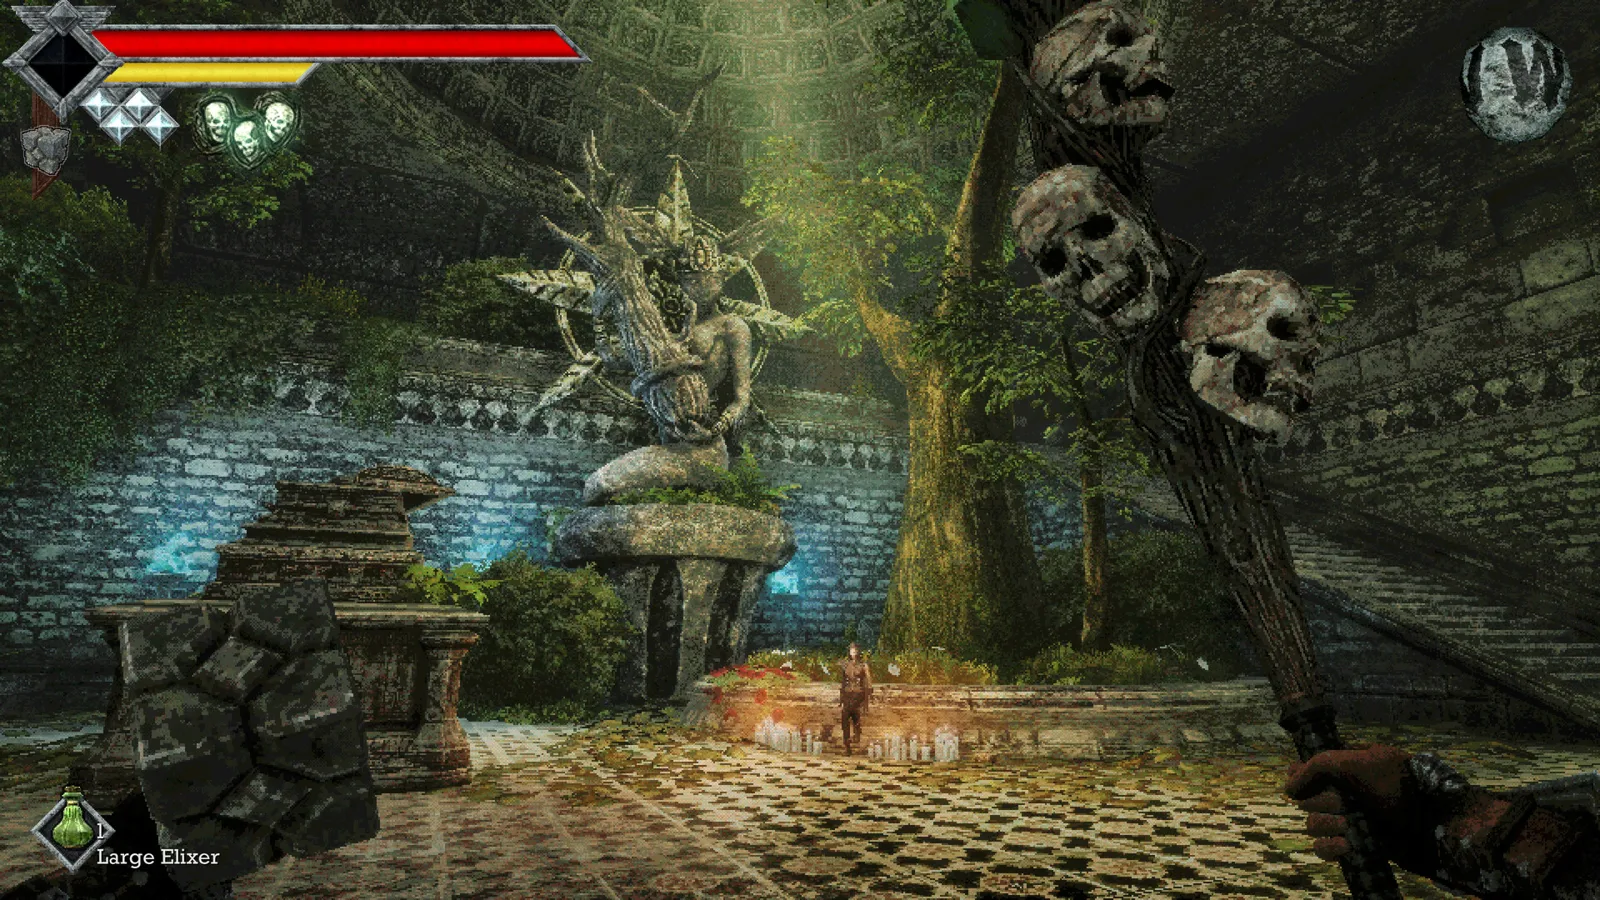
Captain Aganmi’s quest asks you to discover the fate of four fallen raiders, then report back at his camp outside Obmuer Temple. The documented searches cover the starting beach, a shore beyond the flooded temple ruins, a teleporter-side pit and a hidden cemetery route. Check the bodies for Fallen Raider’s Necklaces.
Start the quest and prepare a return option
Speak to the captain by the campfire at Aganmi’s Camp during the Obmuer approach. He introduces the Iryupe Raiders and asks about his missing crew. This is optional exploration rather than a prerequisite for the four-slate entrance.
Bring a return item before isolated shoreline descents. The Steam guide specifically warns about a Travel Crystal for its second raider route. Use the fast-travel item comparison to check whether you will return to your last saved monument or a discovered altar.
Guide numbering is inconsistent: the same beach body is called the first raider in Destructoid’s route and the third in the Steam guide. The headings below use landmarks so that this difference does not make one body look like two separate objectives.
Starting beach: tree beside the water
Destructoid’s route starts at the Knight’s Encampment, takes the stairs to the left of the portal and follows the path toward the ocean. Turn left near the shore and inspect the large tree for the fallen raider.
The Steam guide also places one body at the beach where the game begins. Keep this search distinct from the Grimoire hidden in the beach tree: the quest interaction is the body and its necklace, not the book’s hollow.
Flooded temple side: isolated grass by the rocks
Look across the flooded ruins toward the damaged stone structures. The published illustrated routes cross the ruined wall and continue beyond an opening toward a broken structure. Continue past the structure rather than climbing it; the body is on a small grassy shore beside the rocks.
The accompanying screenshots identify the water-facing stone ruins as the approach. This is the route for which the primary guide recommends a return crystal. Check the retreat plan before committing to the isolated landing.
Teleporter-side route: circular opening in the ground
Another illustrated route passes a large stone pillar and reaches a circular opening in the ground. Look down into that opening for the fallen raider among dirt and vines, then descend to inspect the body.
Destructoid approaches this search from the teleporter-side route, turns right and follows the downward path to the floor opening. The guide’s screenshot shows the necklace interaction on the body. Do not count merely reaching the pit edge as collecting the quest evidence.
Cemetery Precipice: concealed button and wall opening
The final route starts around the Cemetery Precipice teleporter. Continue past it, turn right and inspect the vine-covered stone structures. The Steam guide’s author and a player correction specifically identify a hidden button on the graveyard route before the wall passage.
Destructoid’s screenshots show the vine-covered pillar and the recessed wall opening. Follow the newly accessible route, using dashes across its gaps, and inspect the body inside. If you keep reaching a solid wall, revisit the hidden-button step instead of assuming that more dash charges alone open it.
Report back to Aganmi
After checking all four bodies and collecting their quest pickups, return to Captain Aganmi and report the crew’s fate. Steam’s official achievement list confirms Fate of the Iryupe Raiders for that report. The sources used here do not establish a precise additional chest reward, so this route ends with the documented hand-in rather than an invented item promise.
Sources and scope
Reviewed November 5, 2026 against the primary Steam crew guide and button correction, Destructoid’s syndicated illustrated route and the alternate landmark write-up. Published screenshots were inspected for the ruins, necklace and cemetery-wall landmarks; they are linked as references, not republished as our own gameplay.