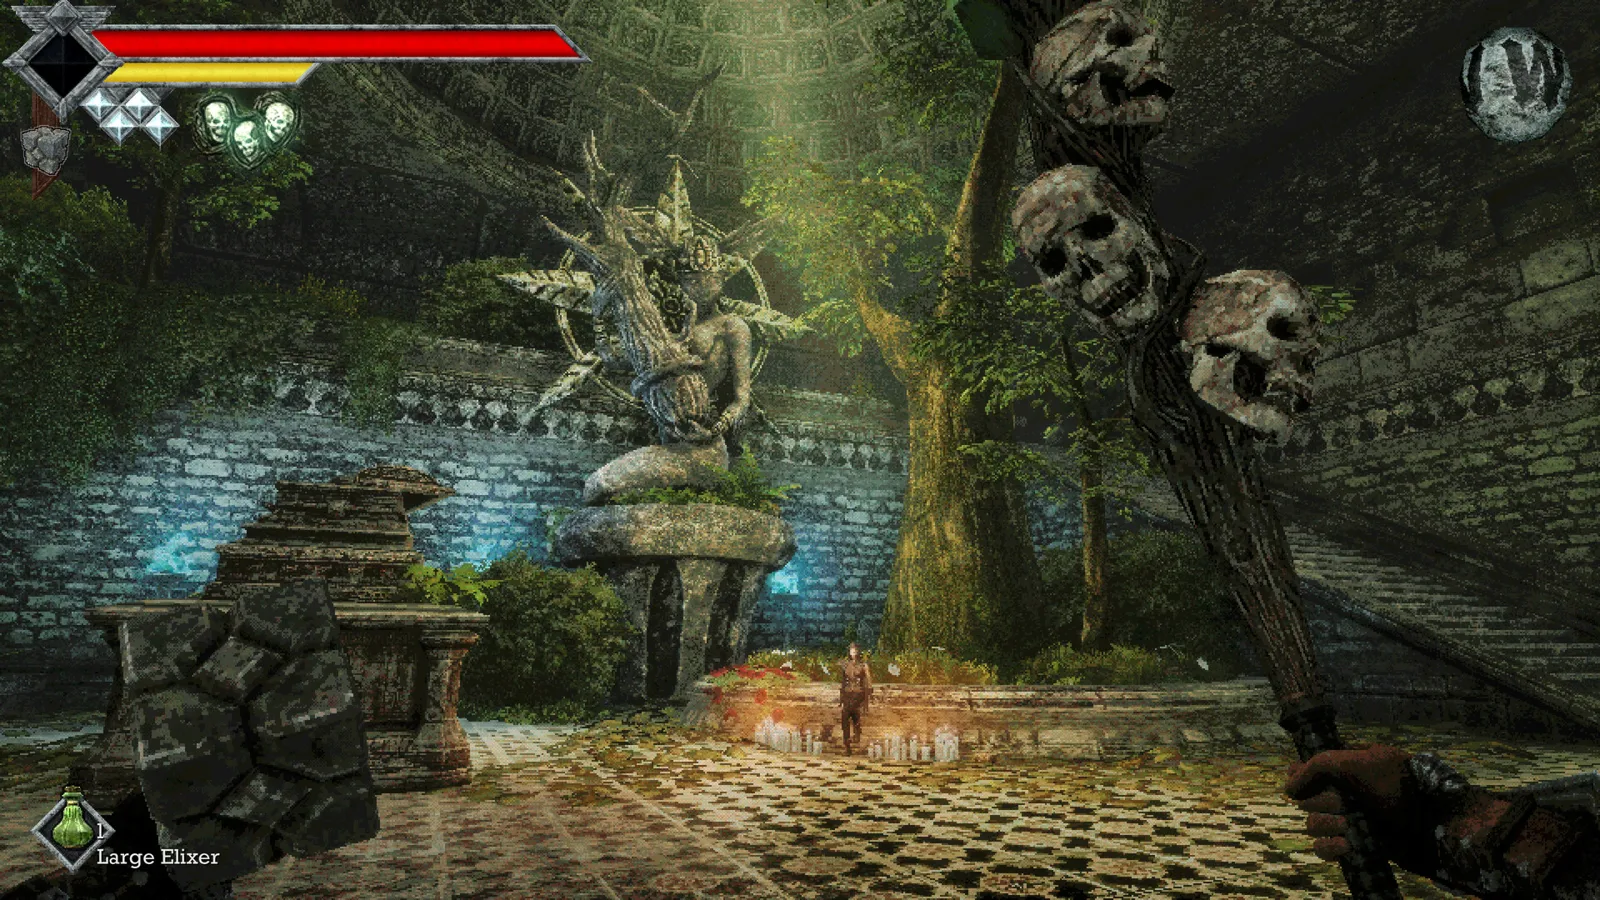
Defeat all three Royal Orbewa Guards in the cavern beyond Obmuer Temple’s Prison Corridor to open the circular passage toward Dagoom. The encounters are Yepo, Erda and Wami; each has different surrounding hazards. Searching for another Trident Key will not replace these fights.
From the Prison Corridor to the cavern
First complete the required Trident Key route and obtain the third Wind Gem. At the Prison Corridor Crystal Monument, save before continuing south through the central passage between two lit torches. That passage leads into the cavern containing the three guards.
ShowGamer’s route descends toward water, with a ruby-bearing Homopiscium statue on the left and aquatic enemies below. Clear the immediate landing area before moving deeper. Check behind the staircase as well: enemies there can remain a threat while you concentrate on the path ahead.
The route described below uses the published walkthrough’s order. It is a navigation sequence, not a claim that the game forces an exact order for defeating the guards.
Yepo: lower southwest waterway
Continue around the cavern’s left-hand route and toward the southwest drop. Yepo is an armored Chicket accompanied by skeletons, including two Skeletal Arbelists. The cramped fighting space makes the extra ranged enemies particularly troublesome.
Deal with the Arbelists before settling into the main fight when you can do so safely. Use Wind Dash to escape a crowded position rather than letting the group pin you against the waterway. ShowGamer records the Silver Conch Necklace at Yepo’s defeat location.
Erda: underpass and northern turn
From the lower section, travel southeast through more skeletons, then continue through the underpass and past the Red Nibblers. Turn the corner and head north. Erda appears with two Toxic Homopiscium behind your approach.
Check behind you immediately. The published route recommends moving past those enemies so that you are not caught between attackers. Backward movement deserves extra care near deep water: gaining distance from one enemy is not useful if the retreat carries you off the safe route.
Erda’s listed reward is the Silver Nautilus Crown. The western end of this passage also contains the Splash Hammer chest between two Homopiscium statues, an optional pickup worth distinguishing from the guard itself.
Wami: uphill left fork
Head east toward the path marked by a single torch and climb. At the top, a large door lies to the right and an open cavern lies to the left. Take the left route for Wami, the large Chilopoda.
Smaller Chilopoda are buried nearby; the raised patches of ground are the warning. Lure the guard down the approach instead of fighting in the middle of the concealed group. The listed reward is the Silver Scallop Tiara. Some secondary references spell this guard “Yami”; this guide follows ShowGamer’s “Wami” naming rather than treating them as separate bosses.
Return to the circular boss passage
After all three encounters, return to the circular door and save before entering the Dagoom fight. If the route is still blocked, check the three encounters individually rather than assuming the optional treasure rooms are required.
Sources and scope
Landmarks, accompanying enemies and reward names follow ShowGamer’s Obmuer Temple walkthrough, cross-checked against the boss-order reference. Reviewed November 5, 2026; no unsupported resistance values or attack statistics are included.