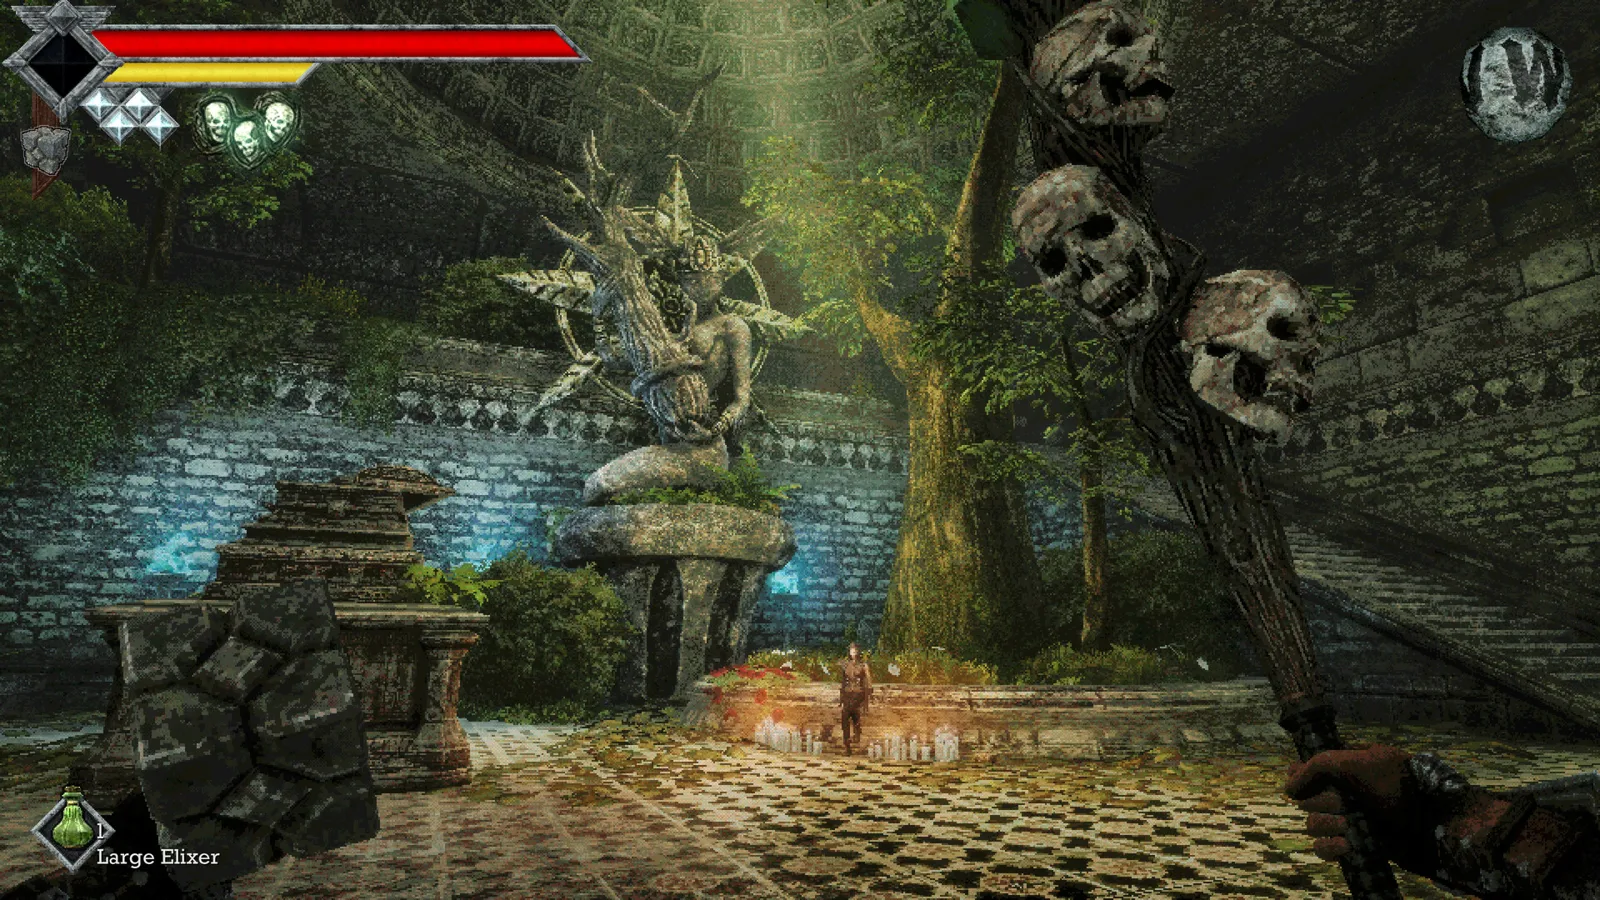
Dagoom the Sea King waits at the end of Obmuer Temple after the three Royal Orbewa Guards are defeated. Save before entering the lower arena. During the fight, prioritize safe footing, escape from water hazards and control of additional enemies over uninterrupted melee attacks.
Open the boss route
The main temple entrance needs four Triangular Slates, while the interior uses Trident Keys and movement upgrades. If you are not yet inside, start with the Obmuer Temple route. If the ring door is still closed, check the three Royal Guard branches.
Those guard fights are separate requirements. The nearby optional multi-key treasure gate is not a replacement for defeating a missing guard. Once the boss route opens, return to a known monument and record your progress before dropping into the arena.
Prepare for a long encounter
Bring healing items, allow throwing charges to recover and keep a way to create distance. Azure Torch can supplement ranged damage when you have a safe opportunity, but the fight should not depend on standing still until its resource refills.
This guide does not prescribe a specific character level or a single required damage type against Dagoom. The most useful preparation is an attack you can use consistently without becoming trapped in a hazard. Check status effects so poison is recognizable when it appears.
Read the arena pressure
Published accounts describe stomping melee, water jets, whirlpool effects, poison areas and fish-like additional enemies. These are practical signals to react to, not a verified percentage-by-percentage phase script. Keep looking at the floor and your available escape route.
When the ground becomes unsafe, move before beginning a long charged strike. Use Wind Dash to leave a bad position if charges are available. Letting the attack go for a moment is preferable to remaining in poison while small enemies close off the way out.
Keep a repeatable attack loop
- Find usable footing and keep space from Dagoom.
- Take a safe ranged or melee opening without chasing through purple water.
- Deal with nearby additional enemies before they surround you.
- Move out of currents or poison and let your resources recover.
- Heal only after you have created room to do so.
If you repeatedly take damage during an escape, shorten your attack commitment on the next attempt. A longer fight with controlled positioning is more repeatable than a fast opening that leaves no health for the additional hazards.
Collect the reward and continue
Winning is associated with the Silver Duck Figurine and the Treacherous Baleen achievement. Search the post-fight route, save and make sure you have collected what you intended before leaving the area.
The temple exit also leads toward the third outdoor gargoyle beacon. Use the Azure Torch there, then return to the Tower of Knowledge once all three bells have rung. The beacon guide connects that step to the earlier two statues on Neasied.
Sources and scope
Reviewed November 5, 2026. Compare the Dagoom encounter reference with ShowGamer’s temple route and boss section. Achievement identity is checked against Steam’s official achievement data. Exact health thresholds and damage multipliers are not claimed.