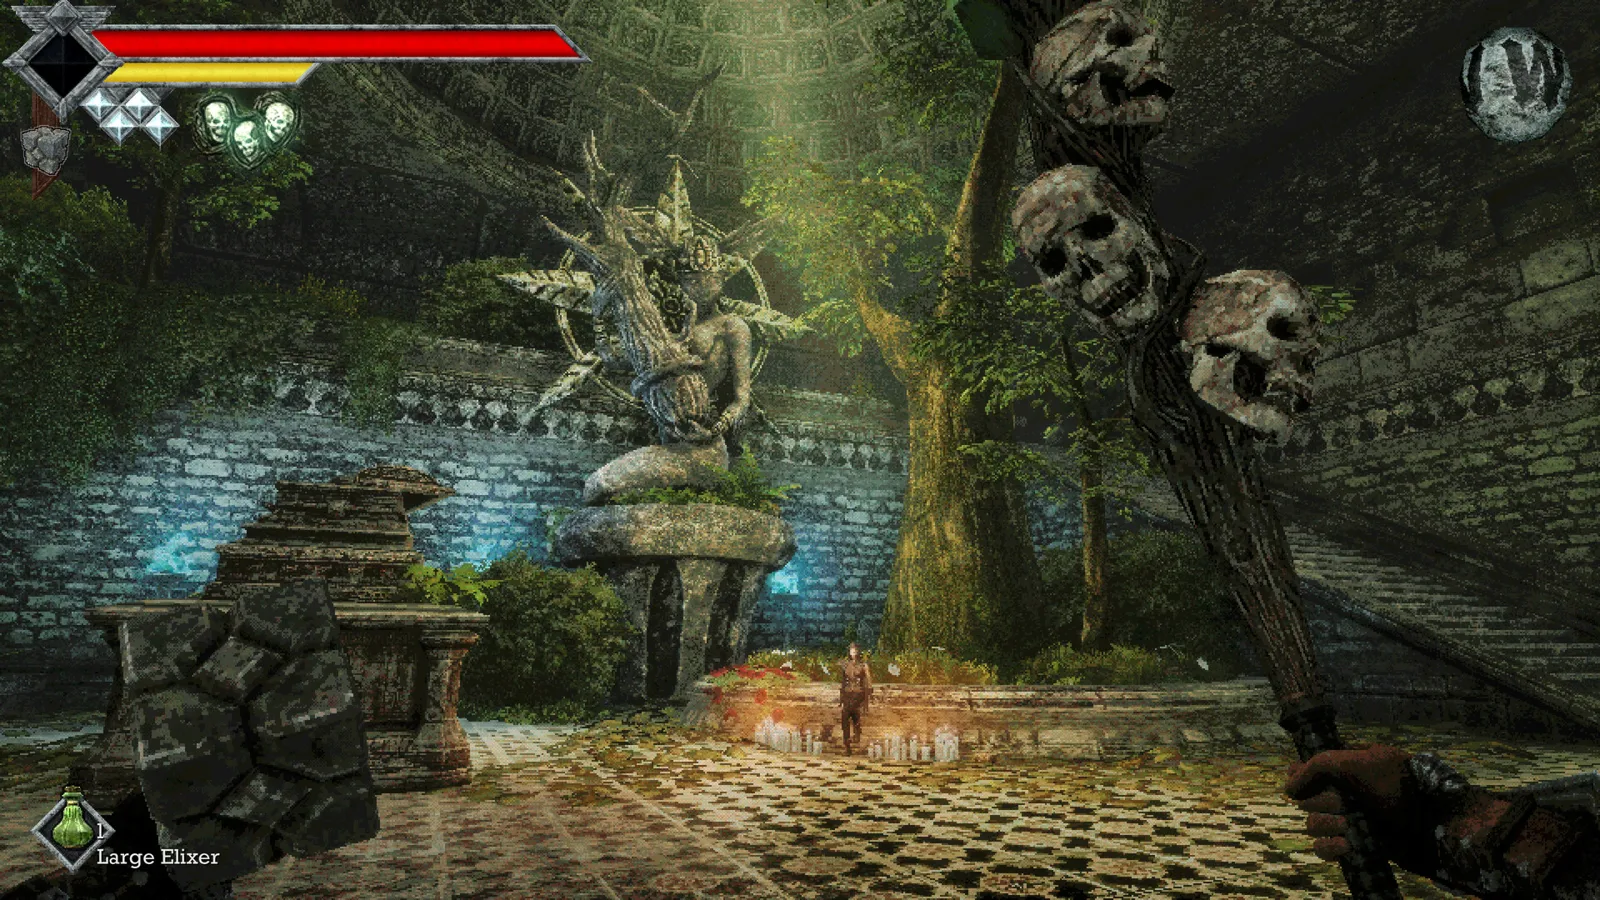
The Splash Hammer is in a chest at the western end of the passage near Erda’s Royal Orbewa Guard encounter in Obmuer Temple. Look for two Homopiscium statues and use Wind Dash to reach the chest between them. The hammer is an optional Impact weapon, not Erda’s silver reward.
Reach the correct part of Obmuer Temple
The chest is inside the temple, beyond the exterior four-slate entrance and the earlier Trident Key route. You should already have the third Wind Gem by this stage. If you are still outside beside Aganmi’s Camp, finish the entrance slate route before searching for this weapon.
Follow the temple progression toward the Prison Corridor Crystal Monument. The central passage south of that save point, between two lit torches, leads into the guard cavern. This is the relevant section; the three-key treasure gate elsewhere in the temple is a separate objective.
Follow the Erda-side passage
ShowGamer’s route reaches Erda after the lower southwest guard area. Travel southeast, pass through the underpass, clear the Red Nibblers and turn north around the corner. Erda appears here with two Toxic Homopiscium behind you.
Keep track of that rear threat before moving toward the chest. The walkthrough recommends getting past the enemies rather than staying between their ranged attacks. If you are using backward movement, check the water boundary first so that the retreat remains on usable ground.
The Royal Orbewa Guard guide covers all three encounters together. Use it if you have reached a guard but cannot identify which branch connects to the hammer passage.
Identify and cross to the chest
At the western end of Erda’s passage, find the pair of Homopiscium statues. The chest between them is the target. Wind Dash across to it after checking your charges and the landing area.
This landmark matters more than simply looking for any chest in the cavern. The temple contains other treasures, keys and silver guard rewards; none of those names identifies the Splash Hammer pickup. Erda’s reward is listed as the Silver Nautilus Crown, while the hammer comes from the nearby chest.
After collecting the weapon, return by the route you have already secured and make a manual save when convenient. Do not assume that opening the chest also cleared the remaining guards or unlocked the circular door to Dagoom.
Where it fits in your equipment
The published weapon references classify the Splash Hammer as an Impact weapon. That gives it a different damage role from a Slash sword or a Pierce spear. Check an enemy’s bestiary properties instead of assuming that a later weapon is automatically better against every target.
This guide does not assign it a universal “best weapon” ranking. The location sources establish the chest route and damage category, but do not provide enough consistent evidence here for an upgrade recipe, guaranteed stagger loop or exact charge formula. Read the current in-game item description before building a strategy around a special effect.
Continue the dungeon
If your immediate objective is Dagoom, complete the other two guard encounters and return to the circular boss passage. The hammer is a useful detour on that route, not an extra lock requirement. See the Sea King guide for the next encounter and the weapons overview for alternatives.
Sources and scope
Chest landmarks follow ShowGamer’s Obmuer Temple walkthrough; weapon classification is cross-checked against GamerBlurb’s weapon reference. Reviewed November 5, 2026. No hands-on acquisition is claimed.