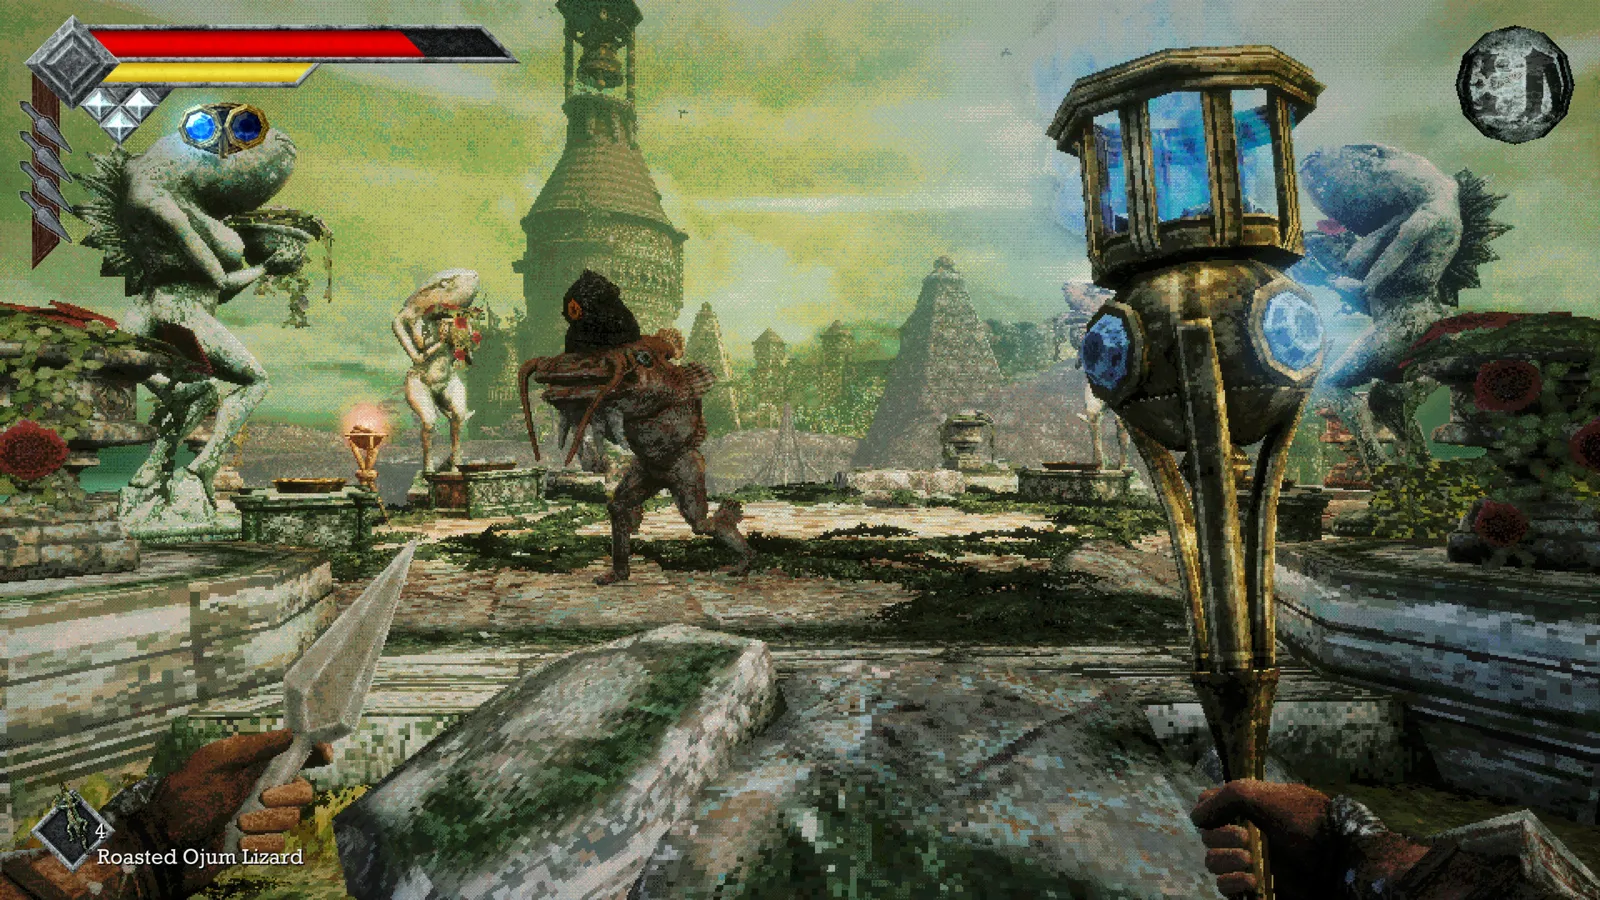
Reach Petrified Garden by leaving the travel platform during a Wing Altar teleport transition. Its later puzzle uses five Trident Keys on the central statues, followed by four mask-revealed marks to open the hidden exchange area. That room leads to the Ancient Stone Duck Figurine and collectible-detection shop upgrades.
Enter through the teleport transition
The primary discussions distinguish this from ordinary travel to an unlocked destination. Begin an altar trip and move off the platform while the transition is in progress. Players also point to a hint book near the top Tower of Knowledge save crystal.
Save before trying the transition. One thread contains both a successful attempt and a crash report, so no particular frame window or flawless-version guarantee is asserted here. This is an unusual entry mechanic, not a recommendation to use a Travel Crystal Fragment in midair.
Reaching the Garden does not require you to have already solved its statue puzzle. The entry trick, the key puzzle and the four magical marks are three stages of the route.
Obtain the fifth key before awakening the statues
The detailed collection thread places the fifth Trident Key with the boss encountered during Garden progression. TreyexGaming’s special-enemy reference identifies the Garden boss as Lost King Ojjama and says the region’s other stone enemies depend on that boss and the key mechanism.
Bring your earlier Trident Keys and keep track of keys left in old sockets. Two keys were enough for Obmuer’s main route; that does not mean they satisfy this later five-key objective. A temple treasure room and the Garden are different uses of the collection.
Match the central statues to their colors
The detailed Steam walkthrough reports this matching table:
| Statue | Trident Key color |
|---|---|
| Beetle | Purple |
| Slime | Blue |
| Bat | Green |
| Stag | Black |
| Fish-man | Red |
The table names pairs, not a compass-based walking order. The special-enemy reference also confirms five color-coded slots. Its statement corroborates the mechanism, while the explicit pair list comes from the cited player walkthrough.
Prepare for enemies when the Garden awakens. Do not stand among the statues assuming every newly active figure remains harmless scenery. Save again when practical before starting the next search.
Four magical marks after awakening
The detailed route calls for the Mask of Second Sight with all four lenses for the full hidden-room sequence. Keep it equipped while examining the area around the central podium.
Players describe two marks around the podium, associated with magically marked fish-man statues; another lies behind the save-point gazebo and the last is in the tunnel leading out of the Garden. Awaken an obstructing statue, then interact with the revealed mark. Separate reports disagree about which weapons or effects reliably wake a particular statue, so this guide does not prescribe a fixed hit count or a mandatory poison attack.
After clearing all four, return to the gazebo with brightly colored torches. The described route reveals a deep opening beneath it, leading to the skull exchange. These four marks are separate from the six Mausoleum sigils and eight island-wide Sipeha seals.
Ancient Stone Duck and collectible tracking
The player walkthrough and Tpose’s skull reference both describe the Ancient Stone Duck Figurine as an early exchange reward. Bring it to Umbada’s outpost to unlock collectible-detection accessories used with the mask.
You do not need to finish the entire skull collection before checking the early rewards. The sources do not establish a consistent exact skull price for this figurine, so inspect the current exchange options instead of relying on an invented number. Keep later ending conditions separate from obtaining the detector for an unfinished Orbewa Egg search.
Sources and scope
Reviewed November 6, 2026 using the detailed Steam Garden/exchange route, teleport-entry confirmations, special-enemy progression reference and skull exchange reference. This is a sourced puzzle route, not a full skull-location or all-endings guide.