To open the Deimpo Mausoleum boss route, equip the Mask of Second Sight with Puwema’s Lens and dispel six magical sigils. Players describe leaf-like trails leading toward the marks and six indicators near the kitchen/boss passage. Carrying the mask and lens without wearing the headpiece does not finish the setup.
First confirm that this is the sigil gate
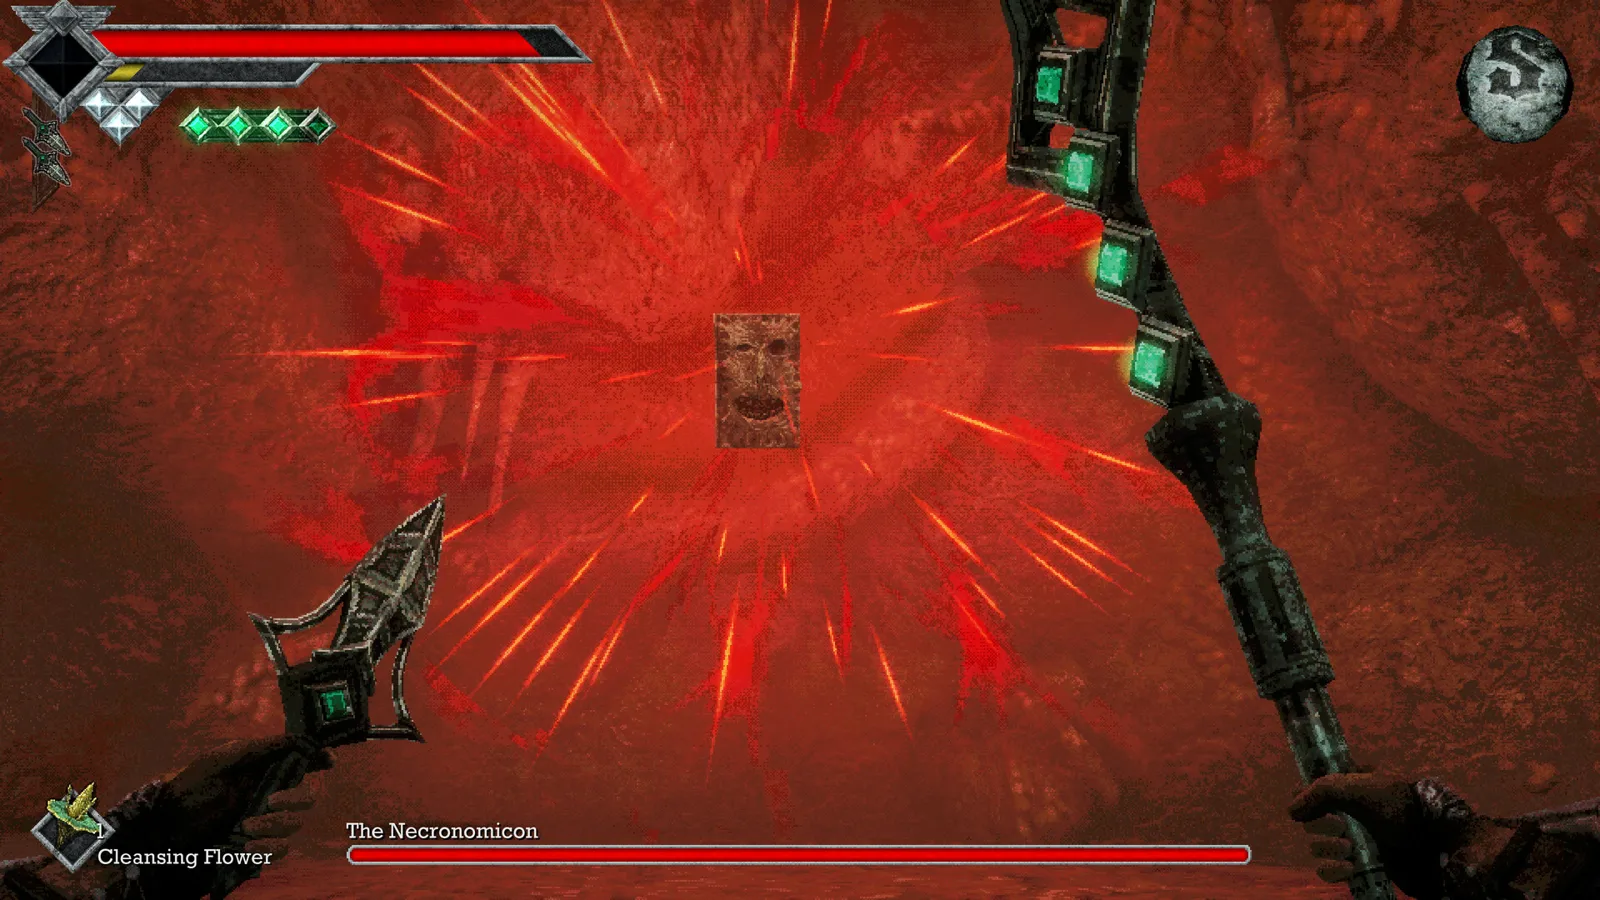
The ordinary route into Deimpo begins after the Necronomicon. Its Acid Vial improves basic throwing daggers so they can clear fleshy barriers; the passage near Budaen leads onward from the Tower.
Once inside, a later gate uses a different requirement. If you have explored beyond the Wing Altar and spiral staircase and reached the kitchen area, another Trident Key is not the answer to the hidden-sigil objective. The temple key system belongs to Obmuer, not this puzzle.
The primary Steam discussion begins with a player who had reached the Mausoleum teleporter and obtained a knight-related chest key. Responses directed them to the mask and magical symbols rather than another ordinary key search.
Fit the lens and equip the mask
Look for the two named items in your inventory: Mask of Second Sight and Puwema’s Lens. The published item descriptions associate the lens with Puwema’s magic and the mask with revealing and dispelling that magic.
Use the equipment interaction to fit the relevant lens and wear the mask. Then return to passages you already explored. A player in the original thread had assumed they needed more lenses before doing this; the responses explain that the Mausoleum objective can use the lens obtained there.
Do not wait for the separate four-lens collection before checking these six marks. The wider lens collection serves additional island objectives, while this gate depends on the correct current lens and six cleared sigils.
Follow the visible trails through the dark rooms
With the mask active, look for the floating, leaf-like green trails. Follow them into the connected Mausoleum rooms and interact with the revealed magical marks. Revisit dark areas and vertical connections instead of only walking the brightest central corridor.
The player reports describe six buttons/marks and six torches near the kitchen. The broader published Mausoleum reference identifies burial chambers and connected side passages as useful search areas. This is an equipment-and-progress checklist, not a fabricated room-by-room map for all six locations.
Keep a record of each mark you actually clear. Seeing particles or passing through a burial room is not the same action as dispelling the sigil inside it. Opening shortcuts makes this return sweep easier.
Return to the kitchen-side passage
After clearing six marks, return to the boss passage near Chef Gagi and check its indicators. Save before continuing to the encounter. Chef Gagi’s Meal Ticket collection is a separate objective; the cited reports do not require you to complete that delivery quest to resolve this gate.
If the passage remains closed, recheck that the mask is equipped and distinguish an uncleared sigil from an unrelated cracked wall. The original discussion also mentions a cracked-room entrance reached another way; it should not be mistaken for the six-sigil gate itself.
Six sigils versus eight island seals
The eight Sipeha seals are a later, island-wide collection with additional lens requirements. They are not an alternative count for this Mausoleum puzzle. Likewise, another Wind Gem increases movement capacity but does not dispel a symbol.
Sources and scope
Reviewed November 5, 2026 using the original Steam gate discussion, GuideWiki’s sourced gate checklist and published Mausoleum item descriptions. This page answers the mask/lens and gate requirement; a complete dungeon map and detailed dual-boss combat guide remain separate research tasks.